How to Automate Uniswap V3 Pools with Aperture Finance
Providing liquidity in Uniswap is a great opportunity to build passive income but a lot of times it’s not that passive. You have to track your positions, make sure they are in range, rebalance and collect fees.
Aperture is a smart contract wrapper around Uniswap V3 that helps automate more of your daily LP tasks.
In this guide we are going to walk you through how to use the tools to save time and hopefully make more money.
If you join Aperture with our referral link, you’ll get entered to receive potential future rewards from Aperture!
And oh! There is also an Aperture Airdrop coming so using the tool may qualify you for it.

Creating a new position
Once you have access, you can go to the dashboard and create your first position. You can create positions within Aperture directly or you can add automations to positions that you’ve already created in Uniswap.
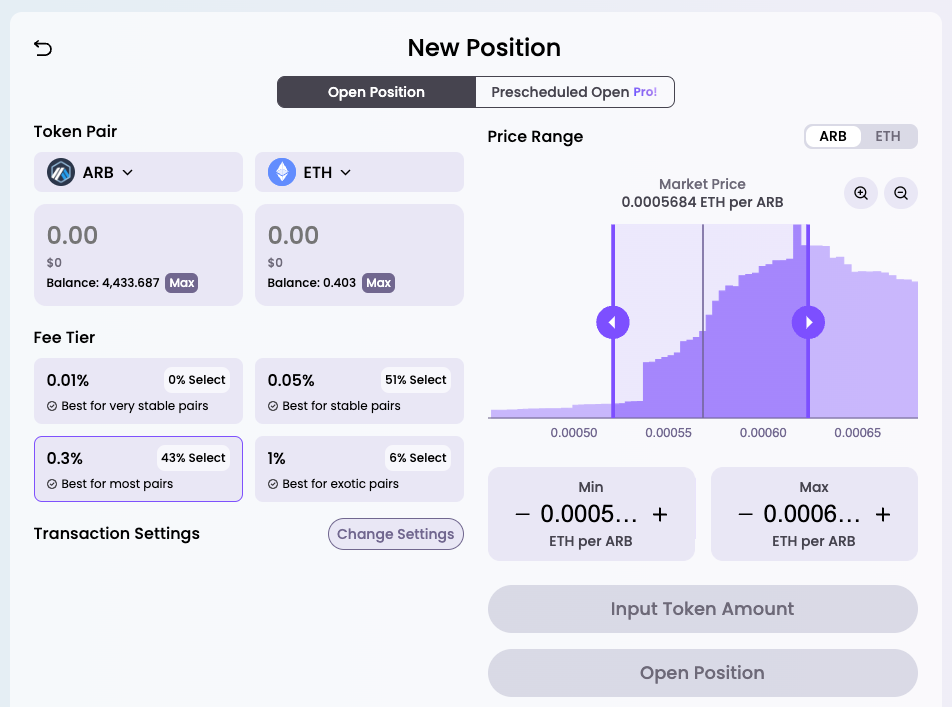
Creating a position here is pretty similar to what you’re used to in Uniswap. I really like on the chart that is shows you the percentage your range is away from the current price.
Updating your liquidity
Once you have a position you can click on it to show this nice view.
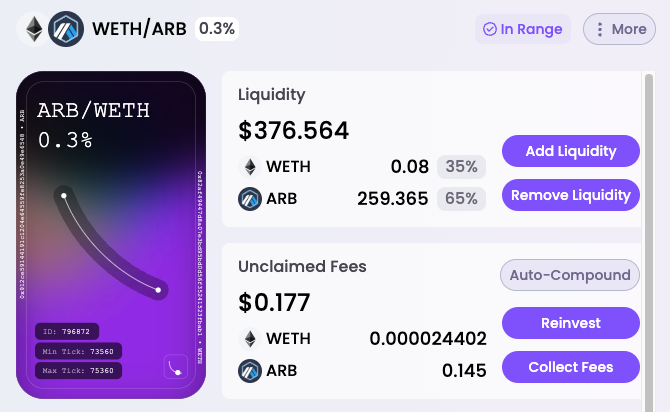
Here you can add or remove liquidity, collect fees, or reinvest.
Reinvesting will claim your current fees and put them back into the position. You’ll probably only want to do this once you’ve claimed enough fees to make it worth the gas costs.
Auto-compound your position
Auto-compound is a nice feature that takes your fees and puts it back into the pool without you doing anything!
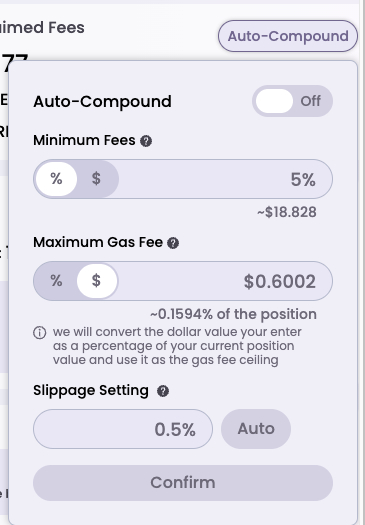
You first select the minimum amount of fees that you need to accrue before it will auto-compound. Or you can set it by the percentage of your position as a whole.
Again, make sure not to set this to low based on gas costs. You can also set the maximum gas fee that you are will to pay to auto-compound your fee.
Then click confirm and sign the transaction. Aperture will auto-compound your position behind the scenes for you.
Rebalancing and Auto Rebalancing
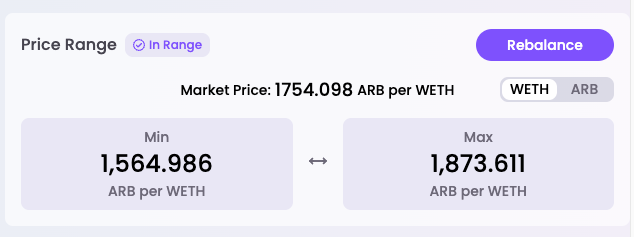
Clicking Rebalance allows you to change your range in the pool. Grab the sliders and move to the new position that you’d like.
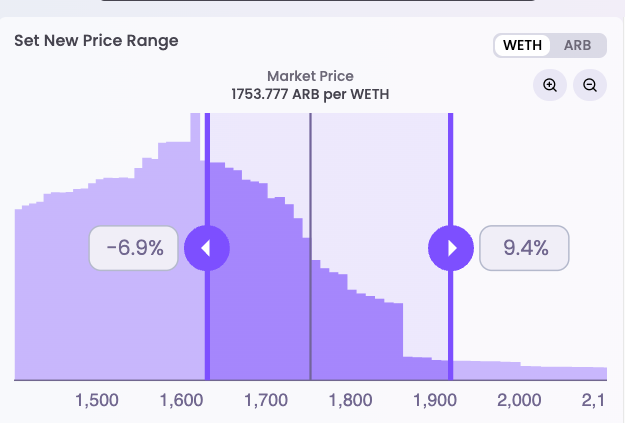
The zoom and toggling pair is helpful. Then click “Rebalance Now”. This will shift your liquidity to the new range. A lot less work then you having to remove liquidity and re-add it.
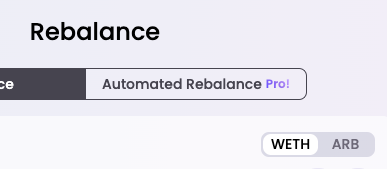
To setup auto rebalancing click on the Automated Rebalance tab.
You can auto rebalance by price, ratio or time. Not really sure why you’d want to rebalance by time but price and ratio allow you to rebalance when one of the tokens hits a threshold above or below.
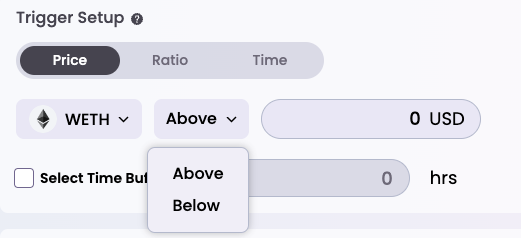
Select the token you want to rebalance on and then select above or below. Set the price or percentage.
There’s a time buffer that is a super useful feature as well. This allows you to set an amount of time that the threshold must be reached before the rebalance is triggered.
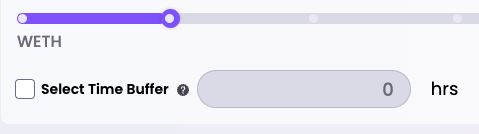
This is a really good idea to use because you don’t want to rebalance if the token pair was going to go back towards the range you had it previously already. If you did rebalance in this scenario, you would just create more impermanent loss for yourself.
Click set up automated rebalance to sign the transaction and set it up.

Auto close positions
Similar to the rebalancing feature, you can also just pull out your liquidity completely.
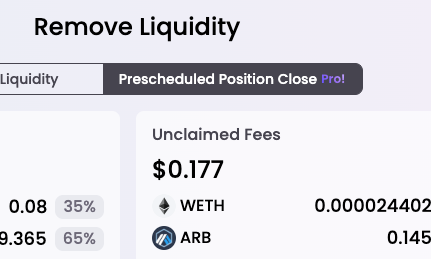
It follows the same ui as rebalancing so should be pretty straight forward.
A word of caution
Aperture creates it’s own wrapper smart contracts around Uniswap contracts. So you are taking on some extra risk. It is ultimately placing your liquidity into the Uniswap contracts and pools, but Aperture’s smart contracts handle it.
So make sure you are ok with the extra risk of using the automated features. If there was a bug or hack, you could be in trouble.
Hope this guide was helpful to you in your Liquidity Provider journey. There are many ways to achieve great yield farming rates in crypto. Reach out if you have any questions!